Microsoft's Windows 10 has proven to be a solid release by Microsoft, with faster adoption rates than its predecessor builds. The seamless integration of cloud services and tweaks both major and minor make using Windows easier than ever now. And it's almost enough to forget you ever used Windows Vista... almost.
However, one thing that was a HUGE let down was the way Microsoft dealt with two mainstays of their platform—Solitaire and Minesweeper. These games have been staples on Windows for years, helping to pass hundreds of hours before the Internet sucked up all of our free time.
For some reason, Microsoft thought it best to make a quick buck and make them freemium apps, requiring a $9.99/year payment to remove ads. This is just plain ridiculous to me, and after a little digging around, I found a few ways to get the full Windows 7 versions of both of these games for free on your Windows 10 computer.
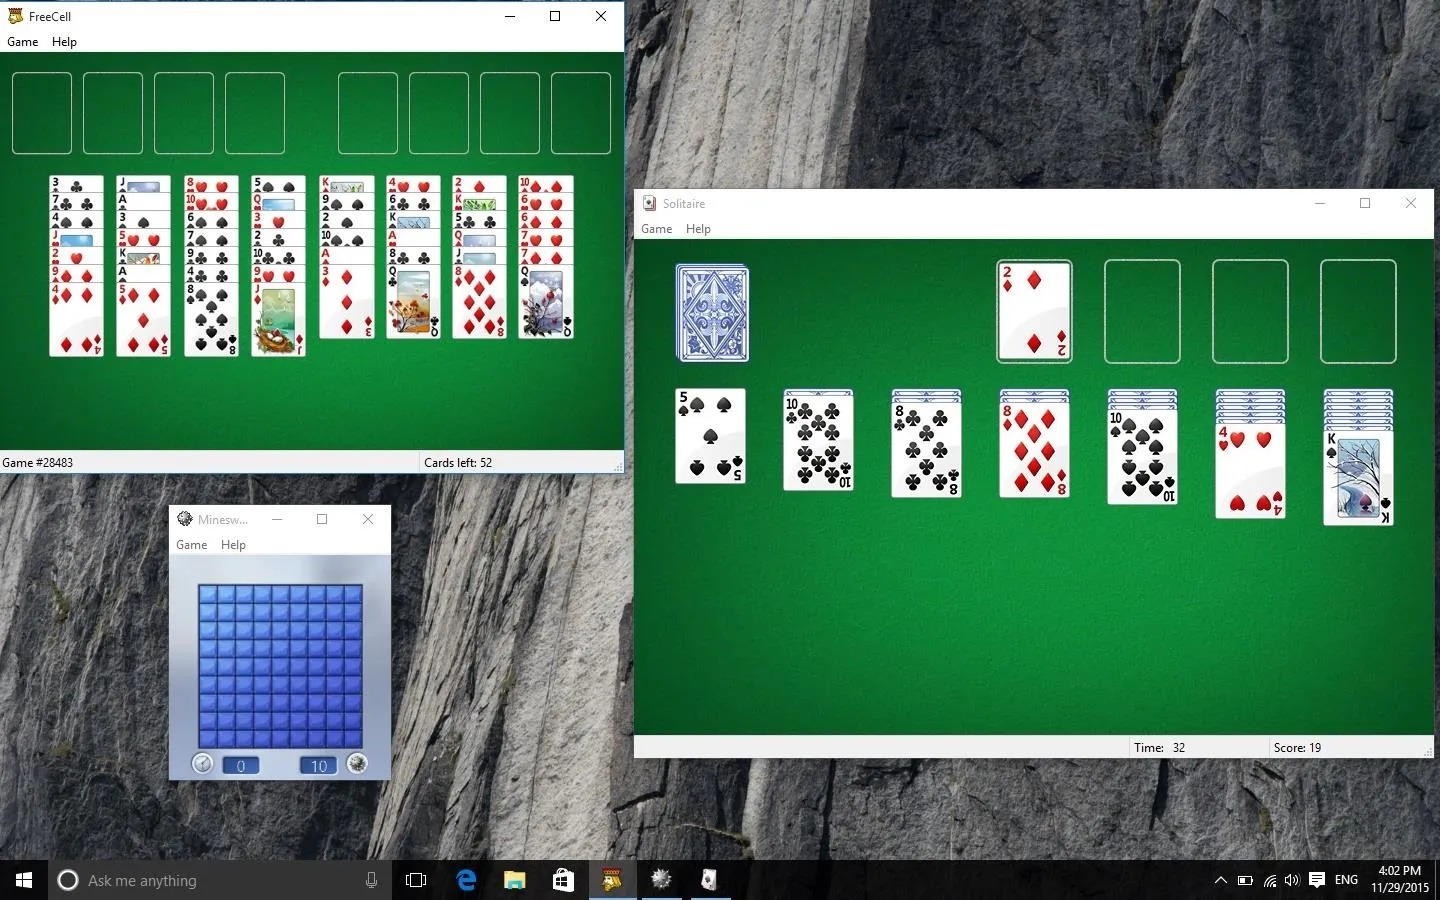
In this guide, I'll cover two methods for bringing back the classics for free. The first only requires you to download an EXE file that will bring back all your favorite Windows 7 games ("easy method"). The second uses the original files from a Windows 7 PC you already own ("hacking method"). You'll get the same results with either method, so pick whichever one you are most comfortable with.
The Easy Method
First up we have the automated method which comes with the Windows 7 games pre-modified and ready to go. Simply download the linked archive (courtesy of WinAero) below, extract it, then run the Win7GamesForWin10-Setup.exe file.
The beauty of this method is that, along with Minesweeper and Solitaire, you can also install FreeCell, Chess, Hearts, Mahjong, and other games.
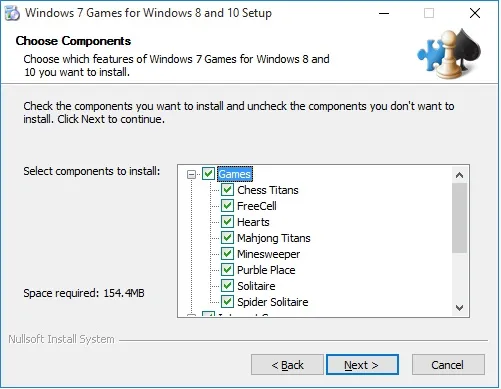
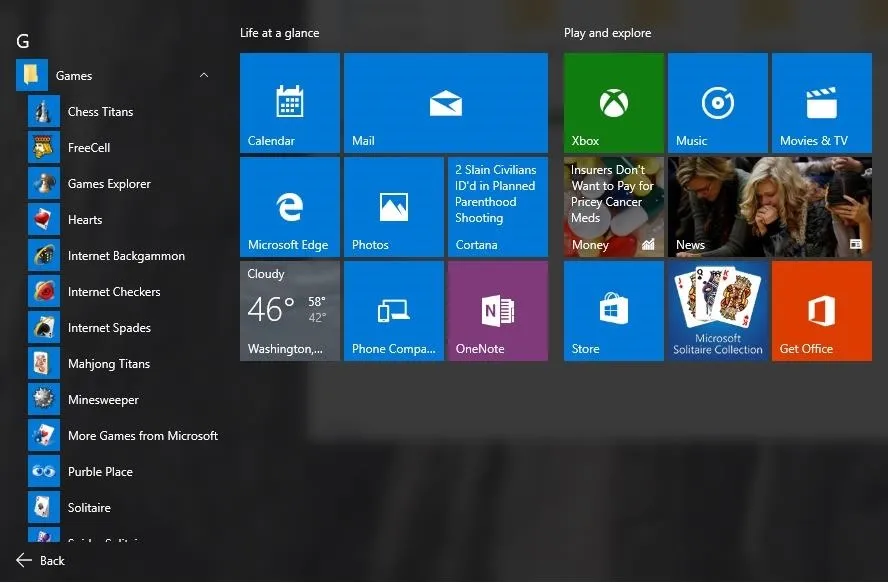
Follow the installation wizard to select the games you would like to have installed on your PC. After you hit Next, the games will be installed under a new Games section in your Start menu.
The Hacking Method
This method is for those of you who would rather handle the modding yourselves by extracting and modifying the original Windows 7 games from one of your existing Windows 7 PCs. This means you will need to have a Windows 7 PC, a Windows 10 PC, and a USB drive to transfer files between the two.
On your Windows 7 PC, navigate to C:\Program Files\ and copy the Mirosoft Games folder to your USB drive. Next, head to C:\Windows\System32\ and copy CardGames.dll to your USB drive as well.
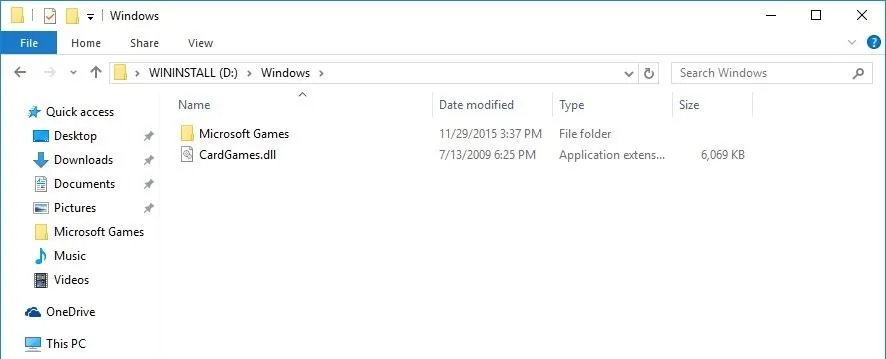
Now plug your USB drive into your Windows 10 machine and copy the Microsoft Games folder to C:\Program Files. After that, copy the CardGames.dll file to each of the folder for Solitaire, FreeCell, Hearts, and SpiderSolitaire.
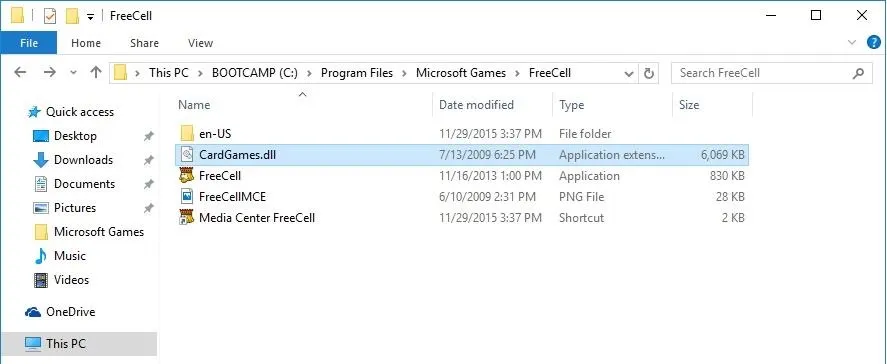
The games are now installed on your PC, but because they run a version check on your system before they open, they will not run just yet.
To fix this, you will need to open each game's EXE file with a hex editor like HxD. Since you can't right-click an EXE file and select Open With, you will have to first open the hex editor, then drag-and-drop the EXE file into it.
Once the EXE file is open, look for the line that reads 7D 04 83 65 FC 00 33 C0 83 7D FC 01 0F 94 C0 and change the 7D to EB. (Depending on which hex editor you use, the sequence may be forwards or backwards.)
When you have finished patching each EXE file, you'll be ready to start playing. The games will not have their own section in your Start menu, but you can always right-click each EXE file and select Pin to Start.
If you have any other hacks or mods for Windows 10, be sure to drop me a line in the comments below, or over on Facebook, Google+, or Twitter.


Comments
No Comments Exist
Be the first, drop a comment!